How to turn a screen recording into a GIF on Mac
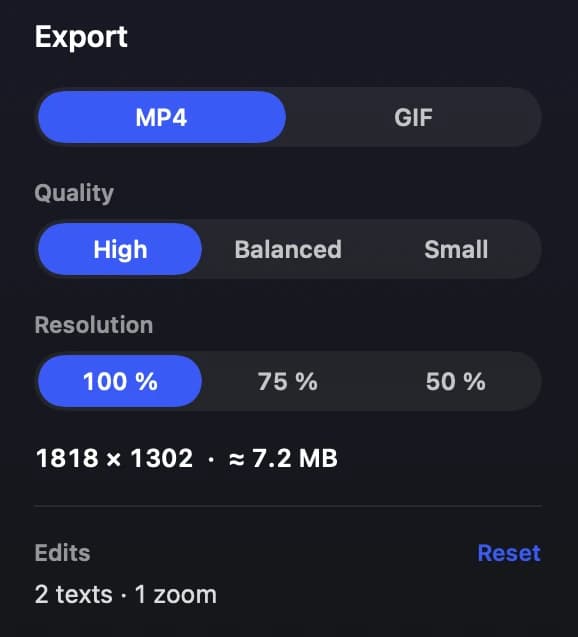
macOS can’t export a GIF on its own. The quickest way is a recorder with GIF export: in Zinxo, press ⌥⇧R to record, then in the video editor choose GIF, pick 10, 15 or 20 fps and 480, 720 or 1000 px wide, and Copy or Save. For command-line fans, ffmpeg can convert an existing .mov too.
Record and export a GIF with Zinxo
- Press ⌥⇧R, select the area or window and press ↩ to record. Keep it short: a GIF over 10 seconds gets heavy.
- Stop with ⌥⇧R. Hover the thumbnail and click GIF for the default GIF, or click it to open the video editor.
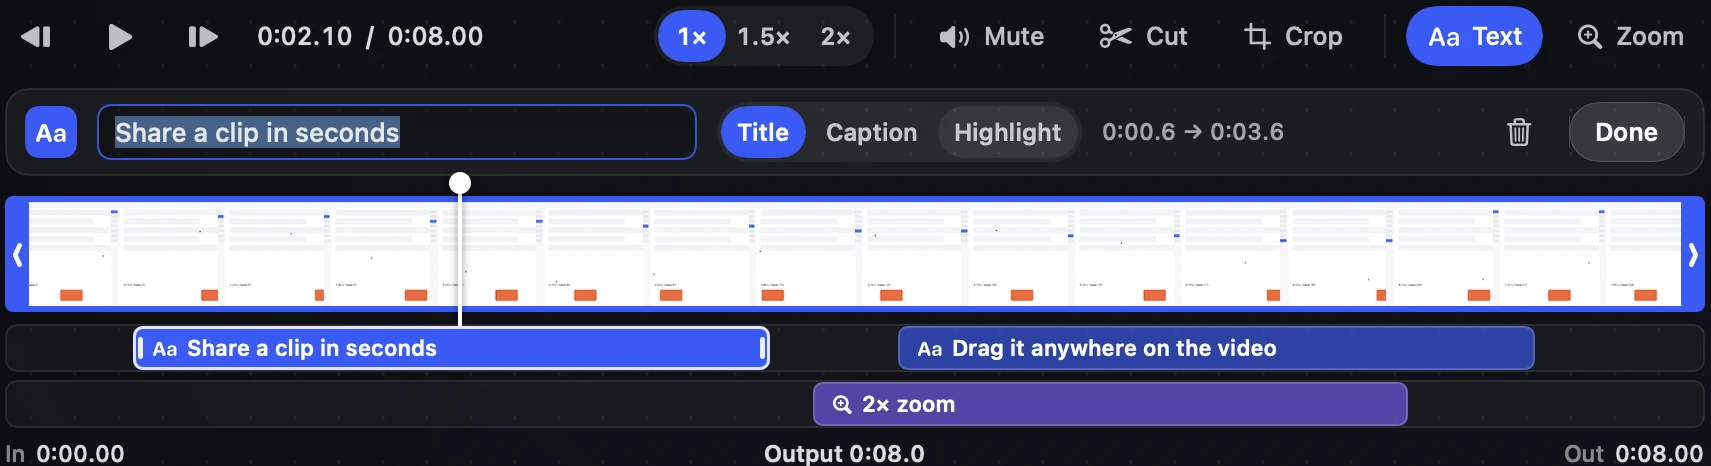
- Trim the ends, cut out dead time and try 1.5× or 2× speed.
- In the export column choose GIF, then fps (10, 15 or 20), width (480, 720 or 1000 px) and loop.
- Check the size estimate and press Copy (⌘C) or Save (⌘S). If the GIF would be too big, the editor shrinks it and says so.
With ffmpeg (free, command line)
ffmpeg -i recording.mov -vf "fps=12,scale=720:-1:flags=lanczos" -loop 0 out.gifTips for small GIFs
Record only the part that matters, drop to 10–12 fps for UI demos, and prefer 720 px width. If people will watch with sound or it’s longer than 15 seconds, share an MP4 instead.
Zinxo: $29 once (regular $39), 1 Mac, 1 year of updatesCapture, hand-drawn markup, 3D mockups, scrolling capture, recording to MP4 or GIF, OCR search and agent handoff in one native Mac app. One price, no subscription.